 When I got married, I had specific things that I wanted to splurge on and things that I knew I could skimp on to save money. So, when a co-worker got married a couple months ago I wanted to help her in finding those cute added touches that could help her continue her theme with personal touches in her decorations but not spend a ton of money doing it.
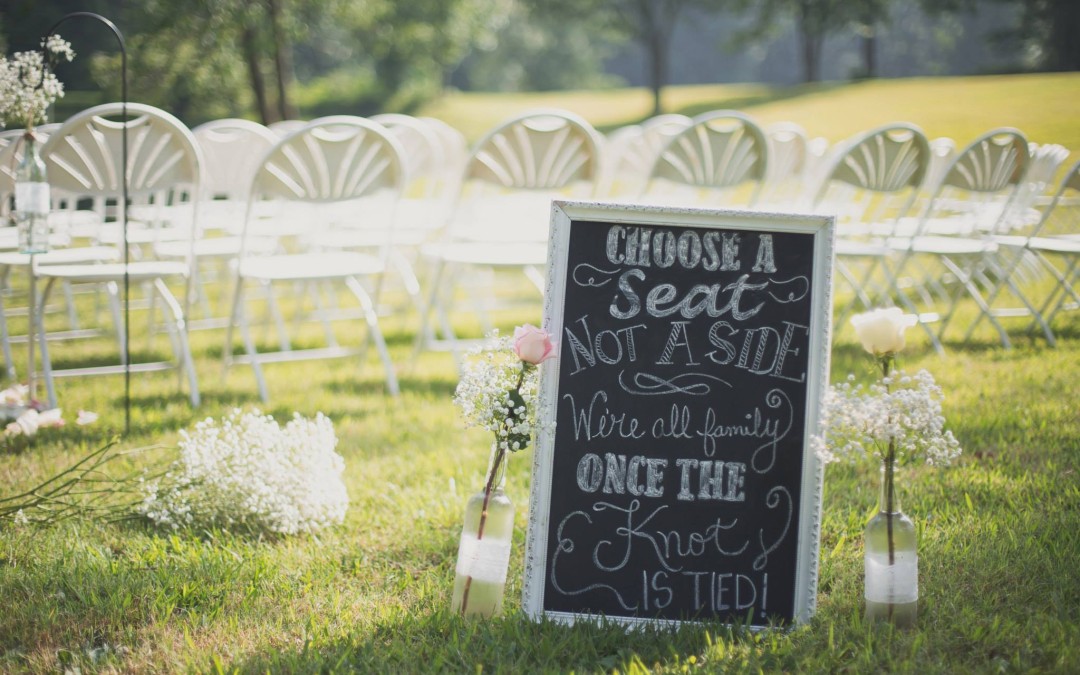
One of things that she saw on Pinterest was this board. She loved this cute way to encourage her family and his family to sit where ever they choose. I immediately thought this is a great idea and would be so easy to make!
Making your own chalkboard is an easy project that could be used for so many things. Here are the steps that I went through in making her project.
- First I needed some frames. Lucky for me, another co-worker had picked up some old frames that were already distressed and perfect for this project!

 Next I went to the local craft store and purchased chalkboard paint and two foam boards. If you have a frame that already has the glass then you won’t need the board and you can paint directly onto the glass. I however didn’t have glass so I chose the foam board because it was so lightweight.

- Once I had all of my supplies I measured the hole in the frame and cut the foam board to size so it would fit perfectly in the hole.
- Next I painted my first coat of the chalkboard paint onto the foam board. I was sure to paint as smoothly as possible and I used a foam brush instead of a regular brush so I had less brush strokes. I let the first coat dry completely and then applied a second coat. I think allowed that second coat to dry overnight so it was completely cured.

- At this point, this is what my board looked like.

- The next step insures that you won’t have ghost text after you write on the board. You take a piece of chalk, turn it on its side and rub chalk over the entire board. This way when you write on it the first time and then erase it, you won’t have the first text on the board for forever.

- Next you put the board into your frame and I used a staple gun to secure the board into the frame.
- Since I already knew exactly what I wanted the board to say and I loved the way that the original board was laid out and the script they used, I decided to work directly from that. In Word, I found fonts that were similar to the ones on the originally board and I typed out the saying. I decided on a size that was similar to what I would need and printed them all out. Once printed out, I cut them out so that I could position them on the board and lay it all out.
 In order to get a stencil of the words onto the board, I rubbed a layer of chalk across the whole back of the paper. I then carefully laid the paper on the board and used a pencil to outline the words. When you pull the paper away, you have stencil to start from.
- Some of the words I freehanded because the print out wasn’t the right size. The rest I worked directly from the pre-printed words.
I think the finished product turned out great and the bride loved it!

Krista Scarlavai Photography got this picture as we set up for the wedding. To see more from this photographer visit www.kristascarlavai.com.
